Compressing your videos is required for files larger than 4GB, but is also beneficial for a number of reasons with and without Shiken.
For example, if you simply want to share your videos (whether by website, social media, messaging, etc.), compression reduces the file size to make it easier to process.
But, in this case, if you want to upload your videos with Shiken, your video files must be within the 4GB file size limit.
We recommend downloading Handbrake to compress your videos.
But remember, there are a lot of tools out there!
The best recommendation is to research and find the video compression tool that you prefer.
Note:
This guide uses Handbrake for MacOS 10.11 and later.
Read Handbrake's documentation for additional assistance.
Follow along with this guide by first downloading Handbrake to your device.
Click here to Download Handbrake.
Click Open Source and choose a file to compress with Handbrake.
Set the Format to MP4.
Set the Dimensions (typically 1920x1080).
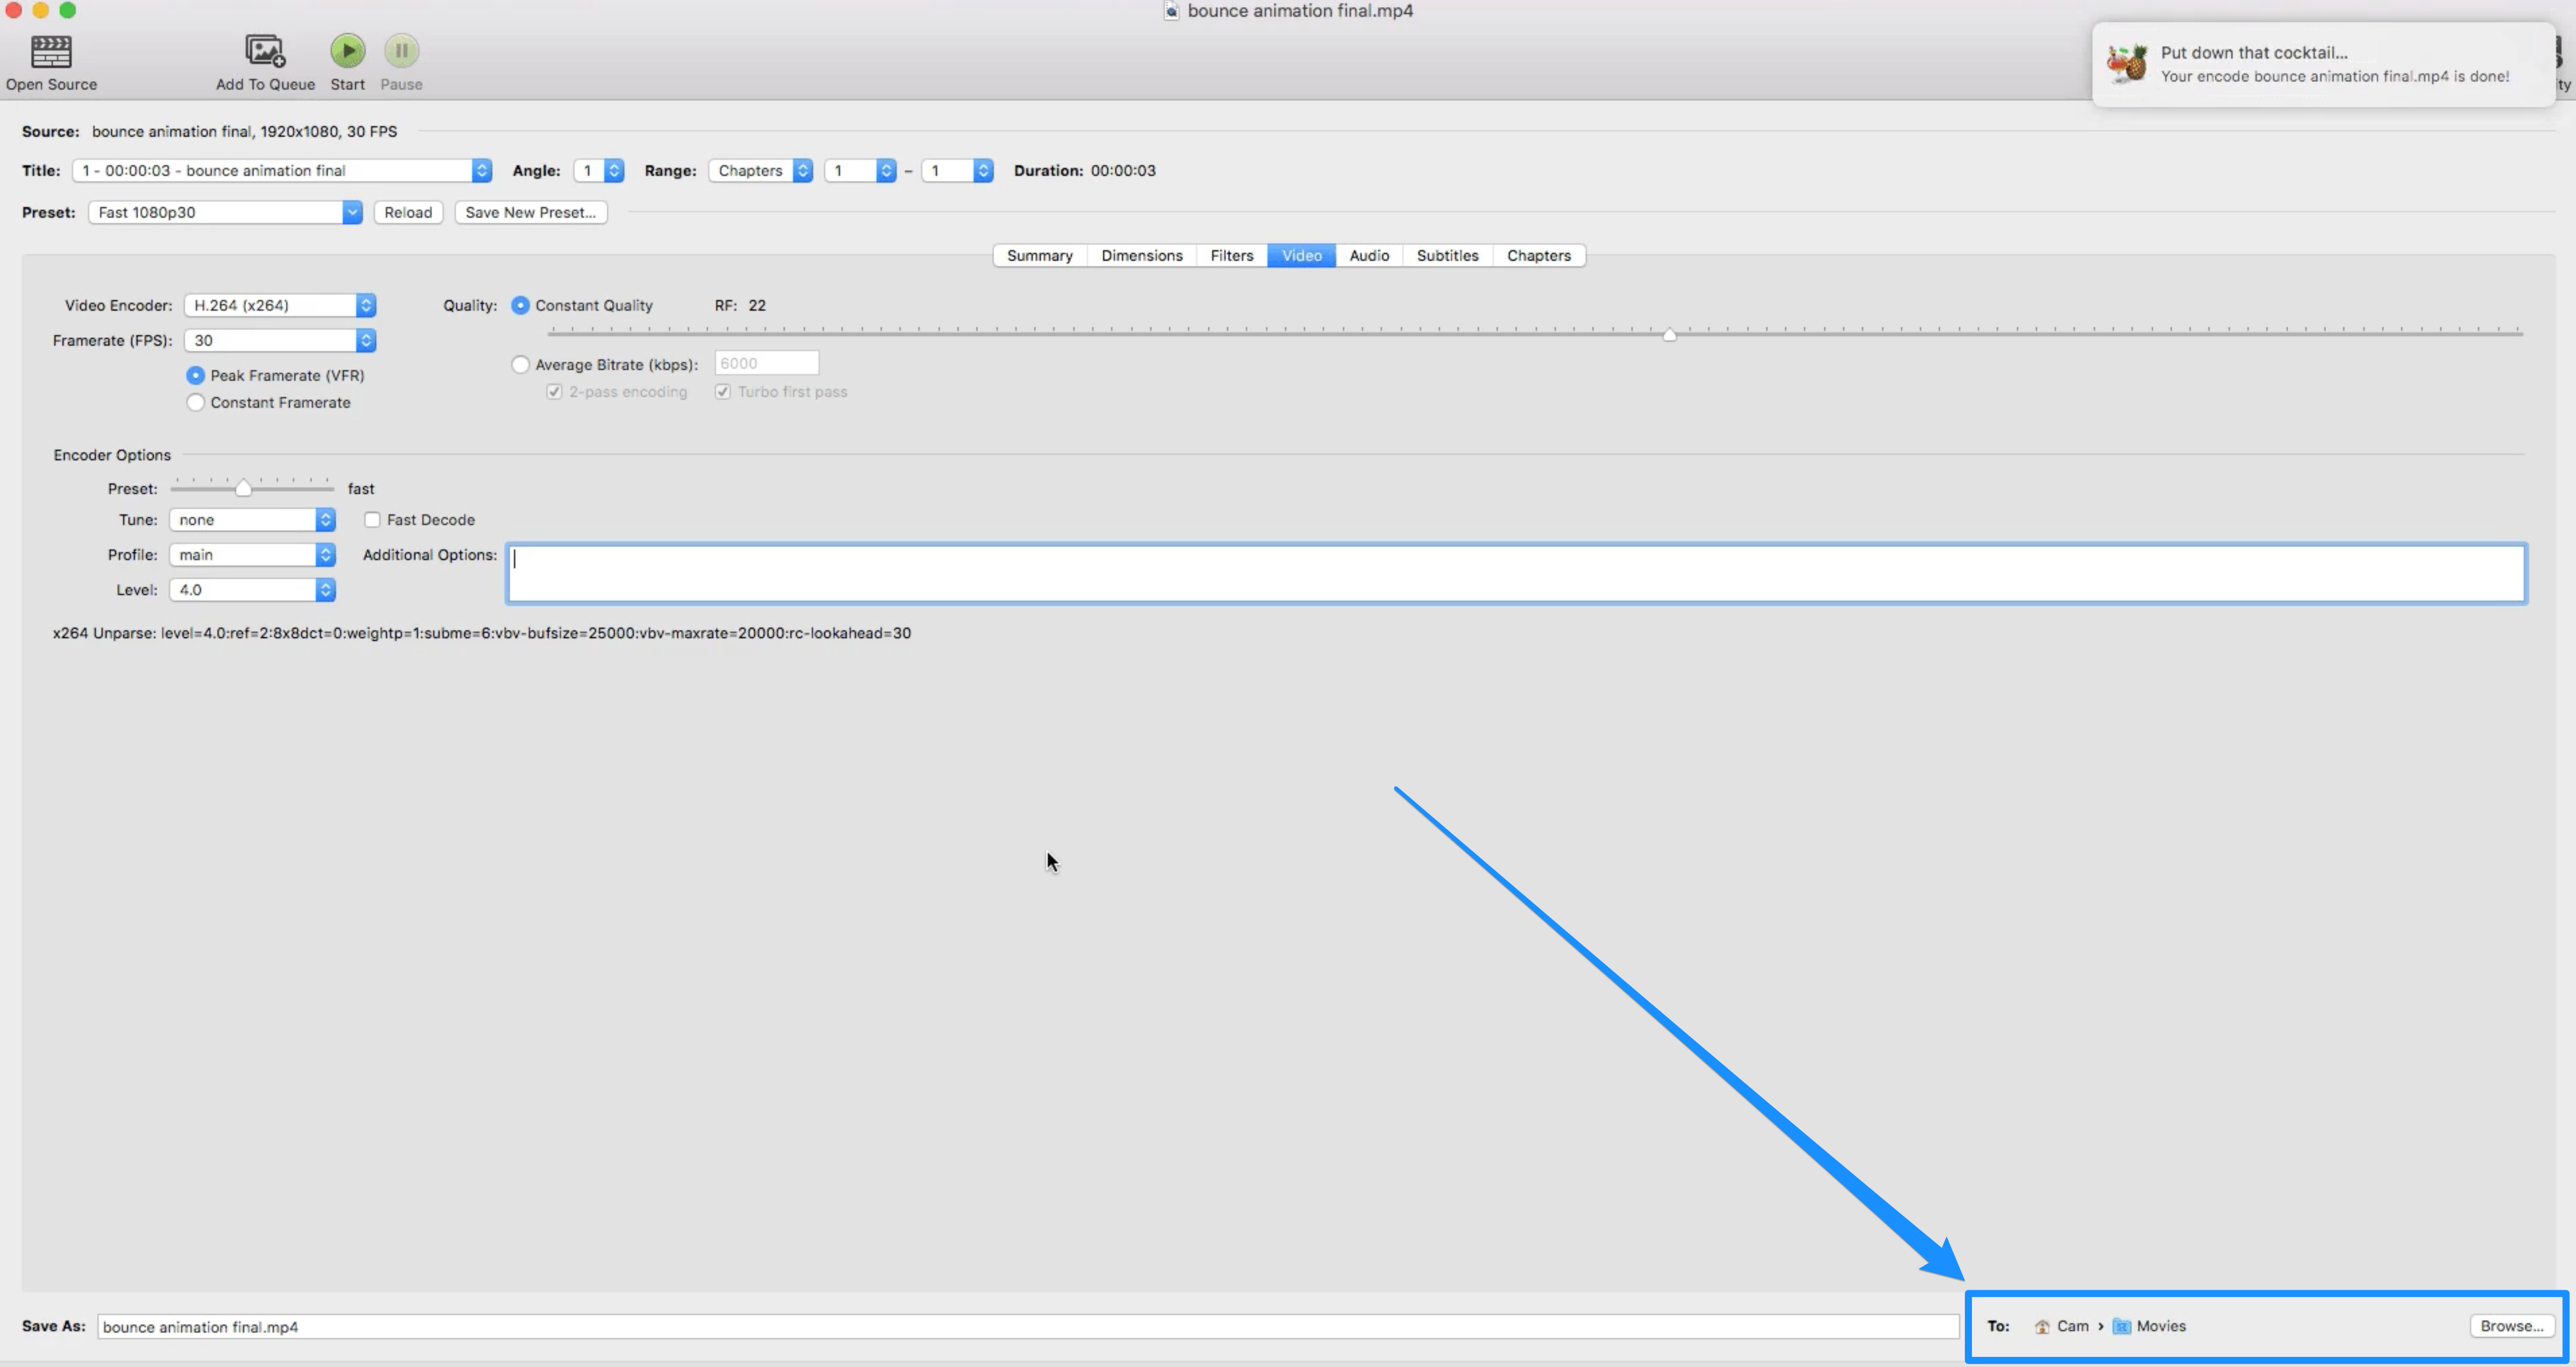
Click Video and make sure the Video Encoder is set to H.264.
Choose the Destination in the bottom right-hand corner by selecting Browse (consider choosing Desktop so the file is easy to find after compression).
Click Start:
Note:
When uploading videos that were recorded from a screen capture application such as Loom, Zoom, etc., Shiken may be unable to complete the upload as these videos are not web optimized. To resolve this issue, select the "Web Optimize" button located in the summary tab (under where you selected a format).
After your video has finished encoding, locate your compressed file in the Destination you selected (located in the bottom right corner of Handbrake):
